

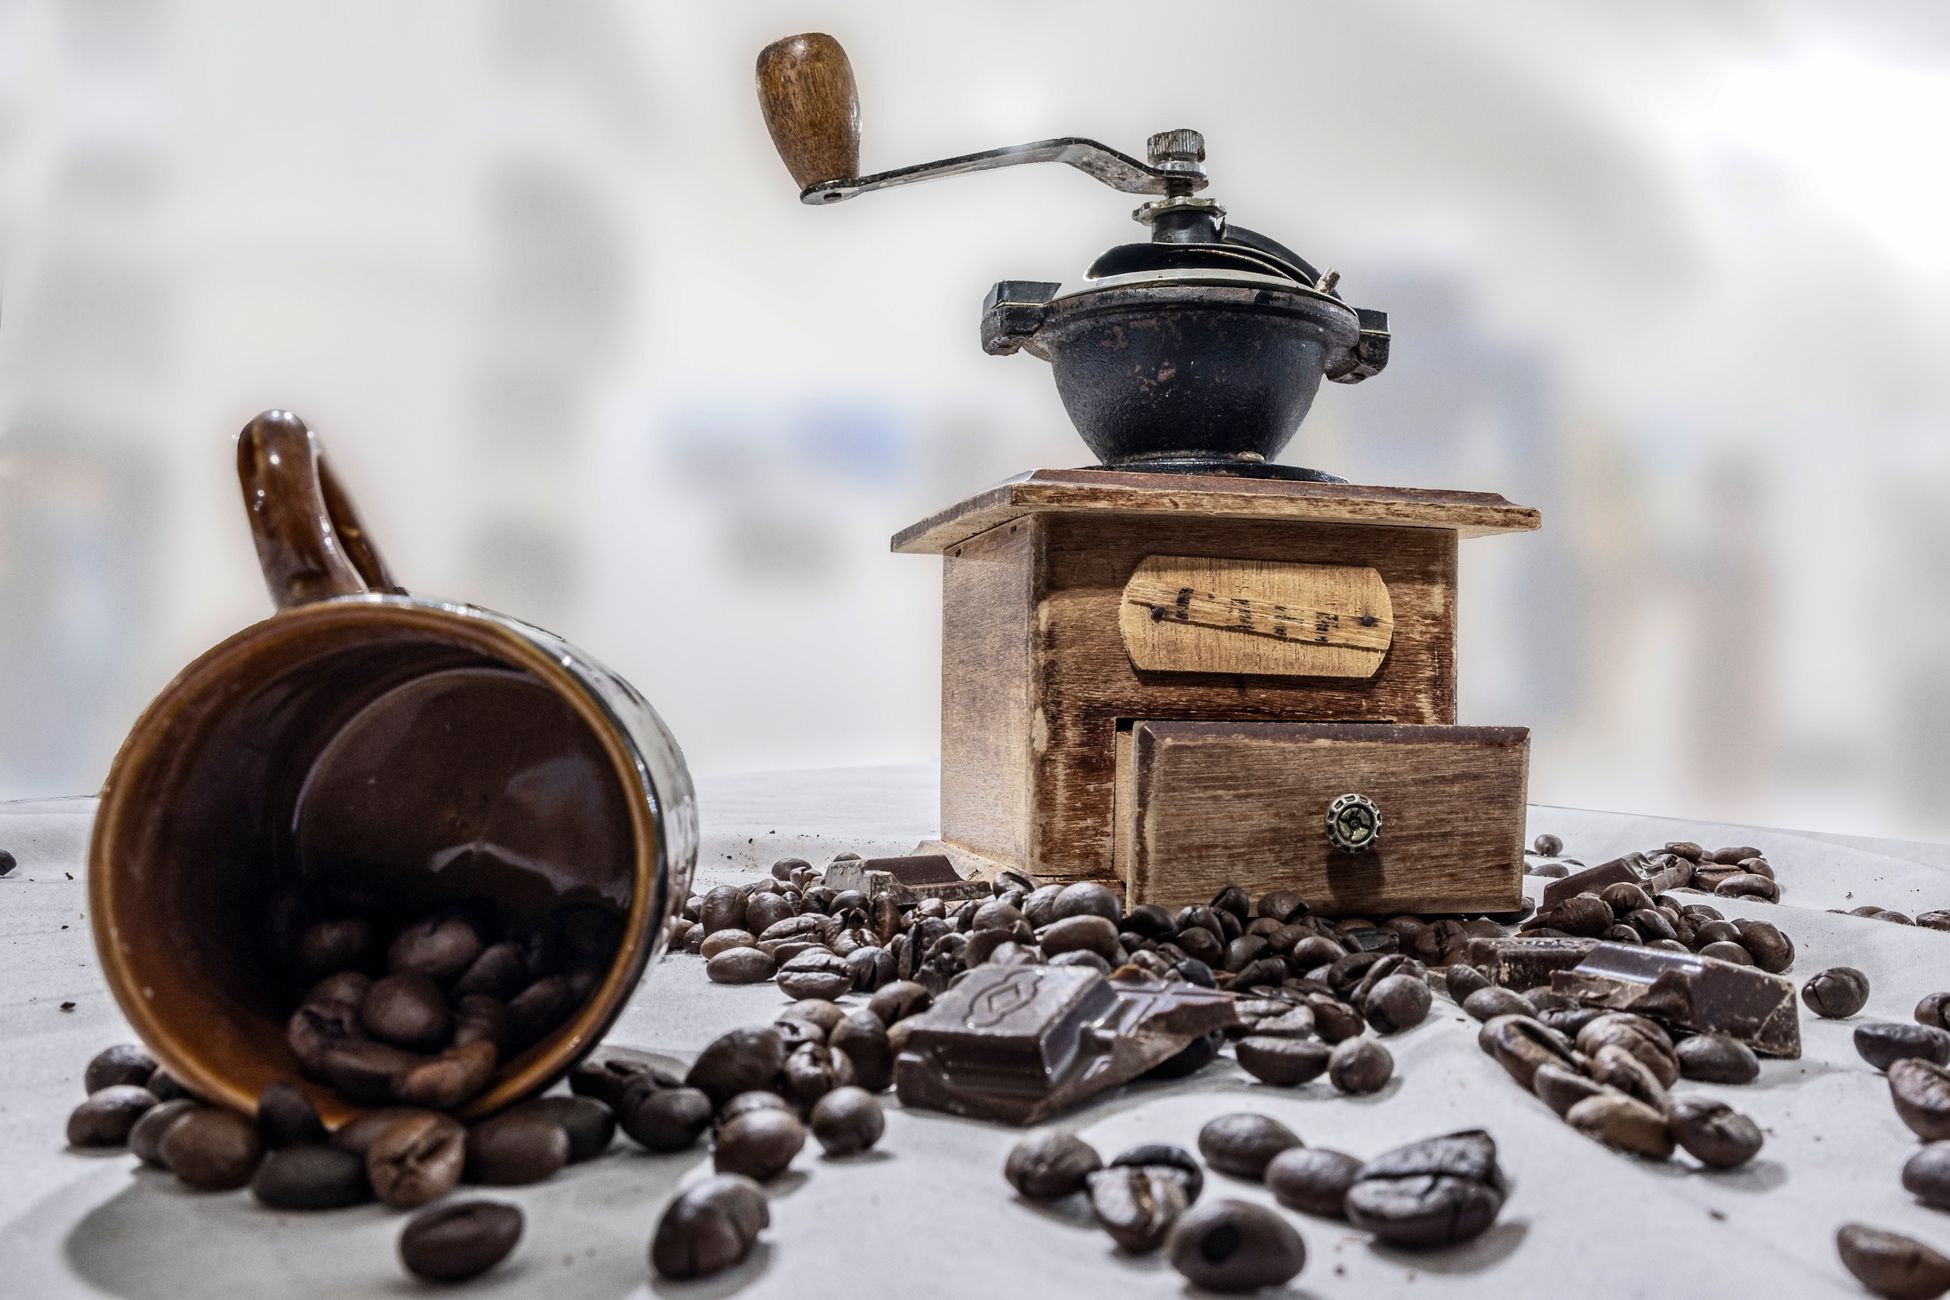
Nobody notices the day their grinder gets worse. That is the problem with it. A burr set does not fail the way a kettle fails, where one morning it does not heat and you know exactly what happened. Burrs decline across hundreds of pounds of coffee, a fraction of a percent at a time, and the cup gets a little worse at a rate too slow for your memory to catch.
So you adjust. Your pour over needs a slightly finer setting than it used to, and you assume that is the coffee. Your espresso runs fast at a grind that used to run right, and you assume the beans are fresher this time. You chase the dial for months, and the whole time the actual variable is two pieces of steel that have lost their edges.
Before you replace a grinder or blame a roaster, it is worth knowing how to tell. And it is worth starting from beans you know are good. Browse our most popular roasts so the coffee is not the unknown in the equation.
What Burrs Are Actually Doing To A Bean
A burr grinder does not crush coffee. It fractures it. Two surfaces with cutting geometry, either flat rings facing each other or a cone inside a matched outer ring, pull beans in and break them progressively as they travel from the coarse outer teeth to the fine inner ones.
The critical word is progressively. A well designed burr set takes a whole bean and reduces it in stages, with each stage removing a controlled amount of material. By the time a particle exits the gap, it has been cut multiple times by increasingly fine geometry, and the result is a population of particles clustered tightly around your target size.
That progression depends entirely on the cutting edges staying sharp. A sharp edge slices cleanly along a predictable fracture plane. A dull edge does not cut. It compresses the bean until it shatters, and shattering is chaotic. You get some particles at the target size, a lot of particles much larger, and a disproportionate amount of dust.

How Steel Actually Wears
Coffee does not look abrasive. It is a dried seed, not sand. But it contains silica and cellulose, it arrives at the burrs at high speed, and it arrives millions of times.
The wear is not uniform. It concentrates at the leading edges of the cutting teeth, particularly in the first stage where whole beans make contact. Under magnification, a worn burr shows rounded edges where there used to be a crisp corner. The overall geometry looks intact. The dimension that actually cuts is gone.
Material matters for how fast this happens. Standard hardened steel burrs are typical in home grinders and wear the fastest. Higher grade tool steels last longer. Titanium coated or nitride coated burrs add surface hardness and extend life substantially, though once the coating wears through at a specific point, the softer substrate underneath wears quickly. Ceramic burrs are harder than steel and hold an edge longer, but they are brittle, and a single rock or a piece of metal in a bag of beans can chip one instantly.
Rough numbers, and they vary widely: a home grinder with standard steel burrs is generally considered due somewhere between five hundred and a thousand pounds of coffee. Commercial grinders with larger burrs and better steel might reach a ton or more. For someone grinding thirty grams a day, five hundred pounds is roughly twenty years, which is why most home users never replace burrs at all. For someone pulling espresso for a household of three, it comes a lot sooner.
Dark roasted and oily beans accelerate wear differently than light roasts do. Light roasts are harder and denser and put more mechanical stress on the edges. Oily dark roasts gum up the burr chamber, which causes its own problems and can increase heat.
The Signs That Actually Mean Something
Several symptoms point at worn burrs. None of them is conclusive alone, which is why people misdiagnose this so consistently.
Your grind settings creep finer over time. This is the most reliable indicator. If a setting that produced a good pour over a year ago now produces something that drains too fast, and you have ruled out changes in the coffee, the burrs are producing coarser output at the same gap. You compensate by closing the gap, and it works for a while, until it does not.
Your espresso shots get harder to control. Worn burrs produce a wider particle distribution, more large particles and more fines at the same time. In an espresso puck, that combination is exactly what causes channeling. Water finds paths through the coarse regions while the fines pack into dense blockages. Shots that used to be repeatable start varying by ten seconds with the same dose and tamp.
The grind looks inconsistent. Put a spoonful on a white plate and spread it out. A healthy burr set produces something visually uniform. Worn burrs produce visible chunks sitting in what looks like powder, with the two sizes clearly distinguishable by eye.
Your cup tastes both bitter and sour at once. This is the flavor signature of a wide distribution and it is the one people find most confusing. Fines over extract because they have enormous surface area relative to volume, and they contribute bitterness. Large particles under extract and contribute sourness. Both end up in the same cup, and no adjustment to grind setting fixes it, because moving the whole distribution coarser or finer just shifts which problem dominates.
Grinding takes noticeably longer and the grinder runs hotter. Dull burrs work harder for the same output. If a dose that took twelve seconds now takes eighteen, something changed mechanically.

Ruling Out Everything Else First
Before you order burrs, eliminate the cheaper explanations, because most of these symptoms have simpler causes.
Old grounds trapped in the burr chamber and the chute are the single most common cause of inconsistency people blame on wear. Stale oils build up, fresh grounds stick to them, and retention throws off both dose and flavor. A thorough disassembly and cleaning, including brushing the burr teeth and clearing the exit path, resolves this more often than not.
Loose burrs are the second thing to check. Mounting screws back out over time from vibration. A burr that is not seated flat produces a wildly uneven grind and looks exactly like wear. Check that everything is torqued down.
A foreign object may have damaged a tooth. Look at the burrs under bright light. A chip or a bent tooth from a rock in a bag of beans is visible and is a different failure than gradual wear, though the fix is the same.
The beans themselves changed. A different roast level, a different density, a different age all shift your ideal setting. If the drift happened when you switched coffees, the coffee is the variable.
Start with a consistent bag so you have a stable reference to test against.
How To Check Burr Sharpness Directly
The practical test is tactile and it takes thirty seconds once the burrs are out.
Run a fingertip carefully along a cutting edge, moving across it rather than along it so you do not cut yourself. A sharp burr feels like it wants to catch on your skin. A worn one feels smooth and rounded, like the edge of a coin.
Look at the leading edges under good light with magnification if you have any. Sharp edges reflect light as a thin bright line. Rounded edges reflect a wider, softer band.
Compare the outer coarse teeth to the inner fine teeth. Wear is usually worse at the entry point where whole beans hit first. If the outer teeth look noticeably more rounded than the inner ones, that is wear, not manufacturing.
What Replacing Them Actually Does
New burrs in an old grinder are frequently a bigger improvement than a new grinder at the same price, and the cost is a fraction.
Expect your grind settings to change immediately and substantially. A new set cuts more aggressively at the same gap, which means your old fine espresso setting will now be far too fine. Recalibrate from scratch. Do not try to find your old number.
Expect a break in period. New burrs have microscopic manufacturing burrs on the edges that wear off over the first few pounds of coffee. Grind output shifts during this window. Most people find things stabilize somewhere between two and five pounds. Some run cheap coffee or rice through to accelerate it, though rice is hard on burrs and not everyone recommends it.
Expect the flavor difference to be most obvious in the cleanest brewing methods. A pour over with a paper filter shows particle distribution clearly. A French press with milk hides it. If you want to hear what changed, brew black through paper on both sides of the swap.
How To Make Them Last
Do not grind anything that is not coffee. Cleaning tablets designed for grinders are fine. Rice is debated. Anything else, including nuts and spices, will shorten burr life and contaminate flavor.
Check your beans. Specialty coffee is sorted well, including by density tables and optical sorters, but a foreign object gets through occasionally. A quick look at a scoop before it goes in the hopper costs nothing.
Clean regularly. Oil buildup increases friction and heat, and heat accelerates wear in addition to hurting flavor. Monthly for a home grinder in daily use, more often with dark roasts.
Do not store beans in the hopper. Ambient light and air stale them, and stale oily beans are harder on the machine as well as worse in the cup.
Grind what you are about to brew. Beyond the flavor argument, less total volume through the burrs is a longer lifespan.
The honest summary is that most home grinders will outlast their owners' interest in coffee. But if you grind a lot, and especially if you pull espresso, burrs are a wear item like brake pads, and treating them as permanent is how a good grinder quietly becomes a mediocre one.
All images shown in this blog are sourced from pexels.com.